Backing Up and Restoring
Running Backups, Bootable Backups, and Synchronizations
A backup or synchronization script starts when:
- Its scheduled time arrives,
- You click the Play button,
- You choose Script > Run, or
- You press Command-Return.
In any case, you might see that Personal Backup is "Preparing to copy" your files, while it analyzes them to determine whether they do, in fact, need to be copied. (If your script involves a small number of files, you probably won't notice anything because the program checks them so quickly.)

A small icon also appears next to the script's name.

Once preparation is complete, this icon changes to show that the script is copying files.

The main section of Personal Backup's window also changes to look something like this:

This is Summary view. At the top is a progress bar, showing how much has been copied, how much in total is to be copied, and an estimate of how much time the script will take to complete. The center section shows an animation of two hard drives at work.
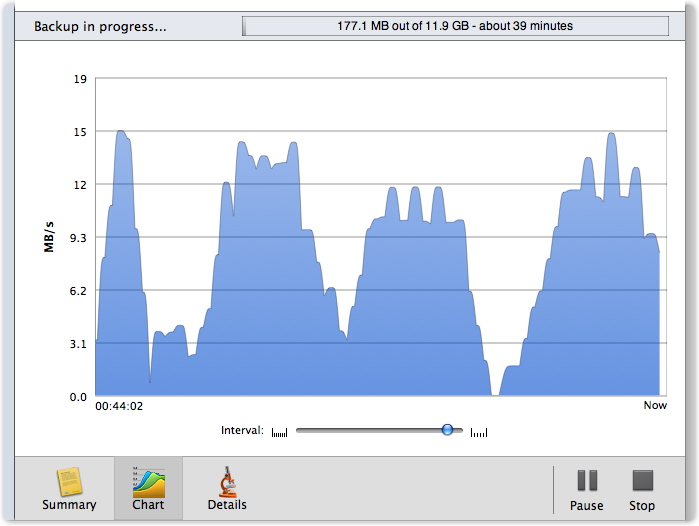
Clicking the Chart button changes the view to one that shows a timeline of how quickly the files have been copied so far. In this case, our copy speed peaked at about 15MB/s, or fifteen megabytes per second. Moving the slider at the bottom lets you see a longer or shorter time period.
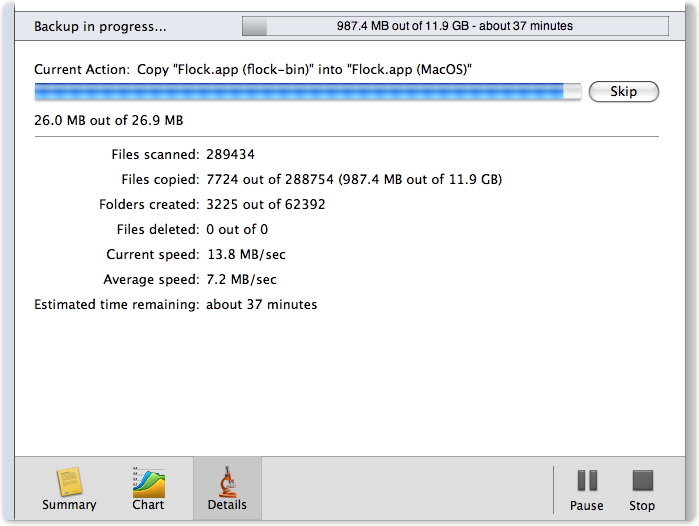
The Details view gives specifics about which file is being copied right now, in addition to some other useful information, such as the script's average speed. This view also gives you the opportunity to skip certain files by pressing the Skip button when they appear next to the text Current Action at the top. Generally, only large files can be skipped, because small ones would already be copied by the time you click the button.
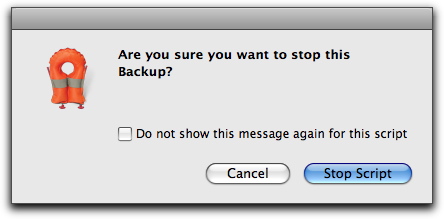
Finally, you can stop a script at any time by pressing the Stop button in the lower-right corner. However, it will continue until you respond to a dialog box confirming your choice. (If you want the script to stop immediately in the future when you press the Stop button, check the box labeled Do not show this message again for this script.)
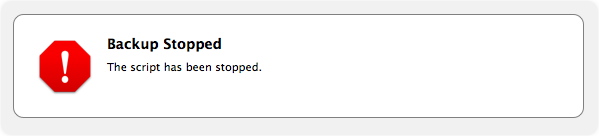
After a few moments, the main window will confirm that the script was successfully halted.
To temporarily stop a script, press the Pause button. It will turn into a button labeled Resume, which you can click to continue the script where it left off.
If you let a script run to its conclusion, you'll see a message in the main window to that effect.

If Personal Backup encountered any problems, such as a file that couldn't be copied for some reason, information about the issue will appear in this concluding message. The icon next to the script's name will also change to an alert symbol, which will remain until the next successful run.

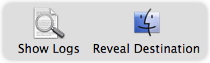
Two additional buttons appear at the bottom of the window, replacing the Play and Pause buttons. The first, Show Logs, lets you review what just happened (and the success or failure of past scripts). The Reveal Destination button is a handy way to look at the newly copied files in the Finder.
Click the Edit Mode button to continue working with Personal Backup scripts.
Logs: Reviewing What Happened
There are four ways to examine past backups and synchronizations you've run.
- Click the Log button at the bottom-right of the main window. (It resembles a magnifying glass held over a page.)

- Choose Window > Logs.
- Press Command-Option-L.
- Click the small alert icon, if any, next to the script's name.
A window appears, listing every script you've run.
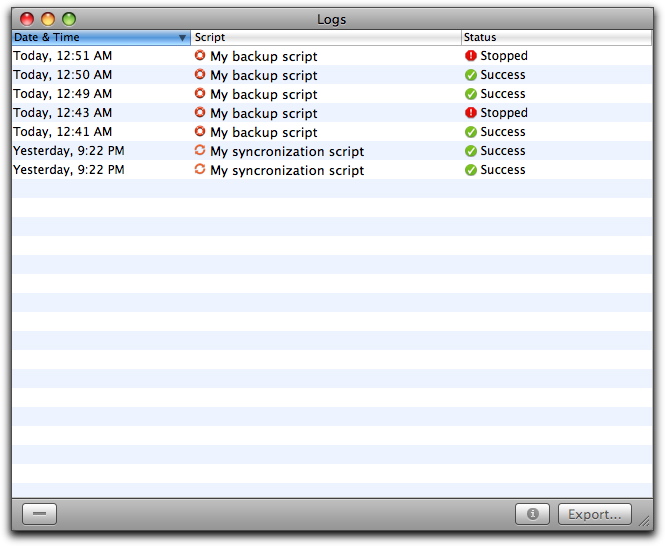
The first column shows when the script started; the second, which script was run; the third, its result. By default the list is sorted with the most recently run script at the top; to re-sort them in reverse order, click the Date & Time column header (shown with blue highlighting in this example). You can also sort the list by script name and status by clicking the headers of each of those columns, respectively.
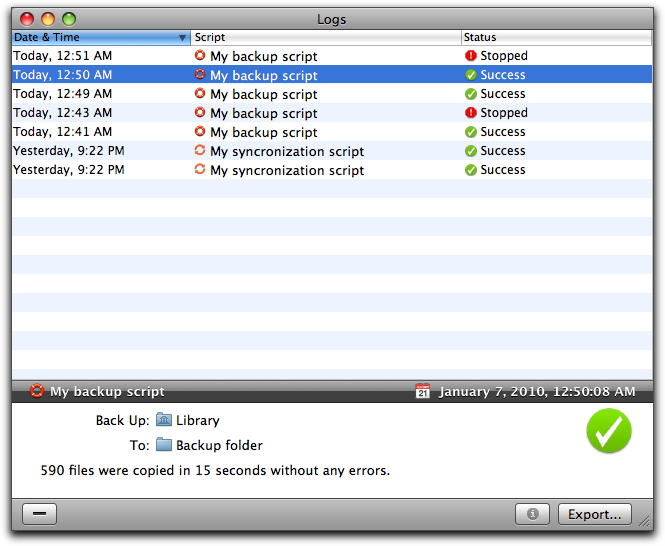
Clicking any line in the log displays some details on that script.
You may want to save this information to a file. To do so:
Select the log entry you want to save. To select multiple entries that are next to one another, click the first one, hold down the Shift key, and click the last one. To select multiple entries that aren't next to each other, press the Command key and click each entry you want to save. You can also select all entries by clicking once in the window, then either choosing Edit > Select All, or pressing Command-A.
Click the Export… button.
Choose a format to which the details should be saved: your choices are Plain text (to examine in a text editor such as TextEdit or in any word processor); HTML (to view in a Web browser); or a Personal Backup archive (which adds the log entry to the log window, which could be useful in team situations where your colleagues are also running Personal Backup).
To remove entries from the log window, first click them, then either click the - button, or press the Delete key. In either case a dialog box will ask you to confirm your choice.
Restoring: Recovering Lost Files
Let's say a disaster happens: you look for a file or folder on your Mac, and it's gone. No problem! Since you've been diligently running backups, you have a copy. (We'll discuss how to recover files from synchronizations below.)
For backup scripts, there are several ways to replace the missing items. The most obvious is to simply copy them in the Finder: unlike some backup programs, Personal Backup stores files in their Mac OS X-native file format. However, this plan only works if you know which files are missing or out of date, and where they are. Often if one file is missing, several are, and it's very easy to miss important files when you copy them one by one from various locations in the Finder.
A faster and more-thorough method is to use Personal Backup's Restore function, which you access by first clicking the script that created the files you wish to restore, then by either choosing Script > Restore or clicking the Restore button at the bottom-right corner of Personal Backup's main window.

You'll see a window that shows a list of past scripts in the left column, and the files affected in the main section. The most-recent run is at the top, and is selected by default. However, you can choose any of the script's past runs by clicking it: the main section's contents will change to reflect files affected during that run.
At first you'll only see the script's top level, in this case the folder labeled My backup script: click the disclosure triangle at its left to reveal all the sources that are part of this script; click again to display its contents.
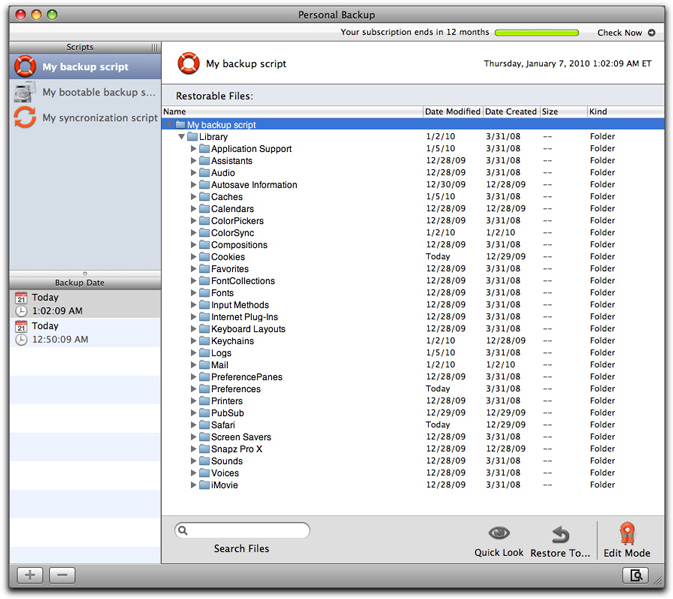
If you're looking for a specific file, you can keep browsing in this manner, or you can type part of the file's name in the box labeled Search Files at the bottom of the window: only files whose names contain that text will remain in the window above. To return to the full list of files, click the X button in the search box.

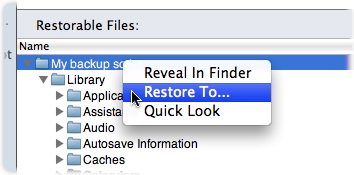
To restore items from a previous backup, simply click the desired item and either click the Restore to… button in the window's lower-right corner, or hold Control while clicking the folder and select Restore to…. (The other option in the contextual menu, Reveal in Finder, will display that item on the script's destination volume-that is, the volume from which you'll retrieve the backup copy.) In the example below, we're restoring the contents of the entire backup.
After indicating where you want Personal Backup to put the restored files, you'll see a progress bar that shows how long the process will take.

If you choose the top-level folder (i.e., the name of the script), your files will be placed at the location you chose in a folder labeled with the date and time of the backup from which you restored, in the format Year/Month/Day Hour-Minute-Second. For example, "09/10/29 12-41-50" means that Personal Backup restored files from a backup made on the 29th of October, 2009, at 12:41:50.
To restore files from backups made to optical discs, you may need one or all of the discs you used for your backup. If you chose to copy all files each time you ran your backups, as you learned how to do in the "Optical Discs" section of Sources and Destinations for Scripts, each disc or set of discs will contain all of your files. However, if you chose to copy only changed files, you may need all your backup discs to restore files. You will need to insert the last disc when running a restoration, at which point Personal Backup will examine the information contained on this disc, regarding which files were backed up and where, then ask you to insert the disc or discs needed to perform the restoration.
Note: if you have deleted a script, you can still restore items from its backup folder. To do this, choose File > Restore from Backup, then select the top-level folder containing the backup you wish to restore. Since Personal Backup writes an invisible file containing backup information at this location, you will then see a restoration interface, such as that shown earlier. You can proceed with the restoration as explained above.
To leave Restore mode, click the Edit Mode button at the bottom-right corner of Personal Backup's main window.
The Restore function isn't available for synchronization scripts; if you need to recover files that were deleted on your source but exist still on your destination, you should do so manually, by copying them from the destination back to the source.
Bootable backup scripts don't offer the Restore function, as their purpose is to create a precise copy ("clone") of a computer volume. To restore a bootable backup, run a new bootable backup in the other direction: choose your destination as the source, and the source as destination.